ACRYLIC
– Safe Harbor Week 6
By
this time you should all have your under painting complete and should be
working on finishing up this painting. We have one more week and still have a
ways to go so if you can work on your painting before next class I encourage
you to do so.
We
are down to doing detail and this can be a very personal process so I do want
to remind you if you are happy with your painting at any point and feel it is as
done as you would like it then stop! You do not have to do as much detail as I
put in some of which I am doing for the benefit of my students not necessarily
how I would finish if it were just a painting I was doing, do not feel that you
must put in everything I do, stop when you feel you are done.
I
did a couple of side demos so I could make the image bigger so you could see
the process one of them was the piling with the rope. I had under painted it at
home so I could show the process of highlighting but I do want to stress that
the process is the same if you have not under painted your pilings or are
having trouble with them, it will benefit you to use a scrap canvas and
practice this technique on a larger scale like I did so you know what to do on
the smaller one of your painting, check the previous post on how I blended wet
into wet to do the under painting.
The highlight for the post I started on the sunlit side picking up a bit of the
tinted white

As I work my way around the piling I want to
fade it into what is already there so I will be leaving some of that under
painting as the texture and shadows, I did pick up some sienna with touches of
red and orange to finish off the highlighting of the front to the side of the
piling.

There
is also something called a “reflected highlight” if you look you will see it on
almost everything but especially round things like tree trunks or rocks, also if
there is some reflective surface nearby like water, snow or buildings you will
see a more pronounced reflected highlight in the shadows. This is a good thing
to put in your paintings to help bring life to your shadows and to make round
things look round. You will have to trust me on this because it is a bit scary
the first few times you do this, you will probably hear your little voice
screaming at you “DON’T DO IT!” but do it any way. If you really don’t like it
you can paint it out but if you do it correctly, you won’t even notice it when
it is done but you will notice a difference in the quality of your painting.
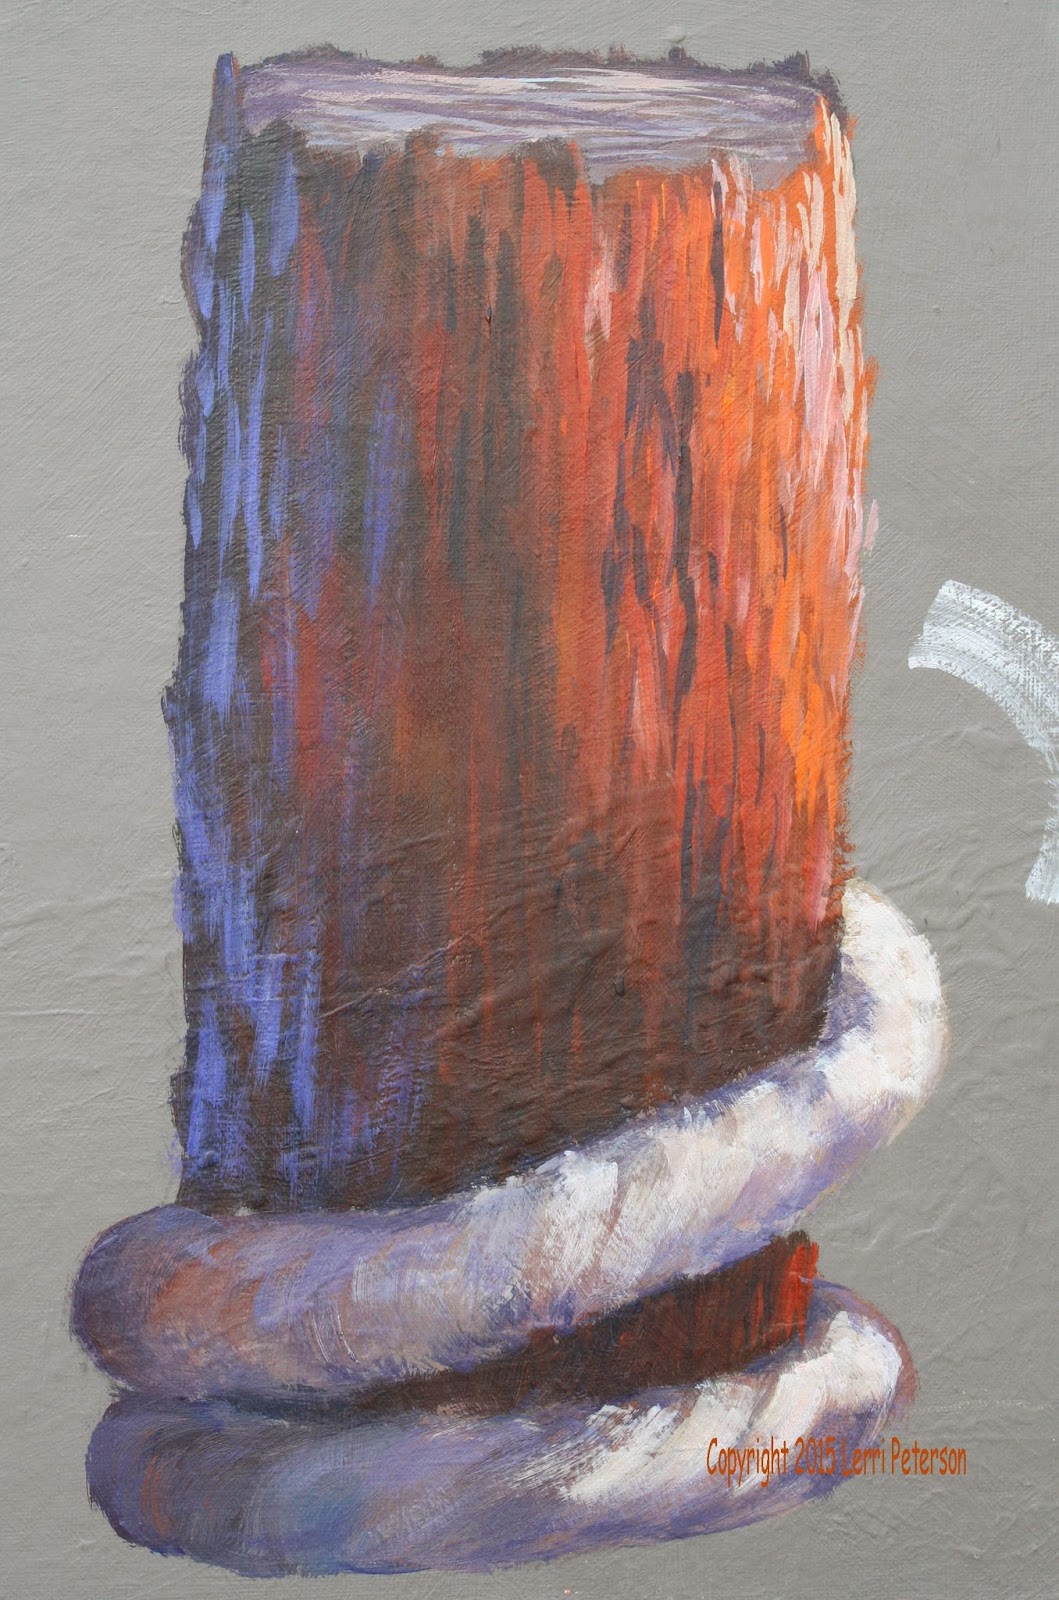 A
reflected highlight is made up of scattered light and the last colors of light
to be absorbed are the blues and purples so you start with your blue and a
touch of purple and a little touch of white to make a soft lavender color. With
the same brush you have been using to do the highlights, you will do a similar
stroke in the shadowed side of the post. Keep it choppy and come around about a
third of the way around the piling leaving a lot of the under painting showing.
You’re done.
A
reflected highlight is made up of scattered light and the last colors of light
to be absorbed are the blues and purples so you start with your blue and a
touch of purple and a little touch of white to make a soft lavender color. With
the same brush you have been using to do the highlights, you will do a similar
stroke in the shadowed side of the post. Keep it choppy and come around about a
third of the way around the piling leaving a lot of the under painting showing.
You’re done.
The
top of the piling is just a light grey color and when it is dry, just suggest
some texture with a bit lighter color. Don’t make it too detailed because you
won’t see that much to worry about it, just suggest it’s there.
The rope can also be painted wet into wet using the flat sable brush which will
give you a bit more control if you have one, the colors will just be a bit
different. I tend to work in the same pile of paint on my palette unless there
is a reason I need to avoid it but when I have a color that needs to be dirty
any way – and these ropes are far from clean – I just add color to where I was
working to get that muddied color, so I don’t have an exact mix but I do know I
started with some of the tinted white, yellow, a touch of orange and purple to
get the base color for the rope, it should be a dirty yellow grey. To make it
cooler like in the shadows, I added more purple and touches of blue, to make it
warmer I added more of the white and touches of yellow and even a bit of
sienna. This color doesn’t have to be perfect and the less perfect the better,
mixing in the colors on the canvas will give you texture, you just need to show
a change in value from the shadowed side to the light side.
The
most important part of painting the rope is the stroke you use. The rope is
round so your strokes need to be curved or they can follow the twists in the
rope which are more of a lazy “S” shape, still following the curves of the
rope.
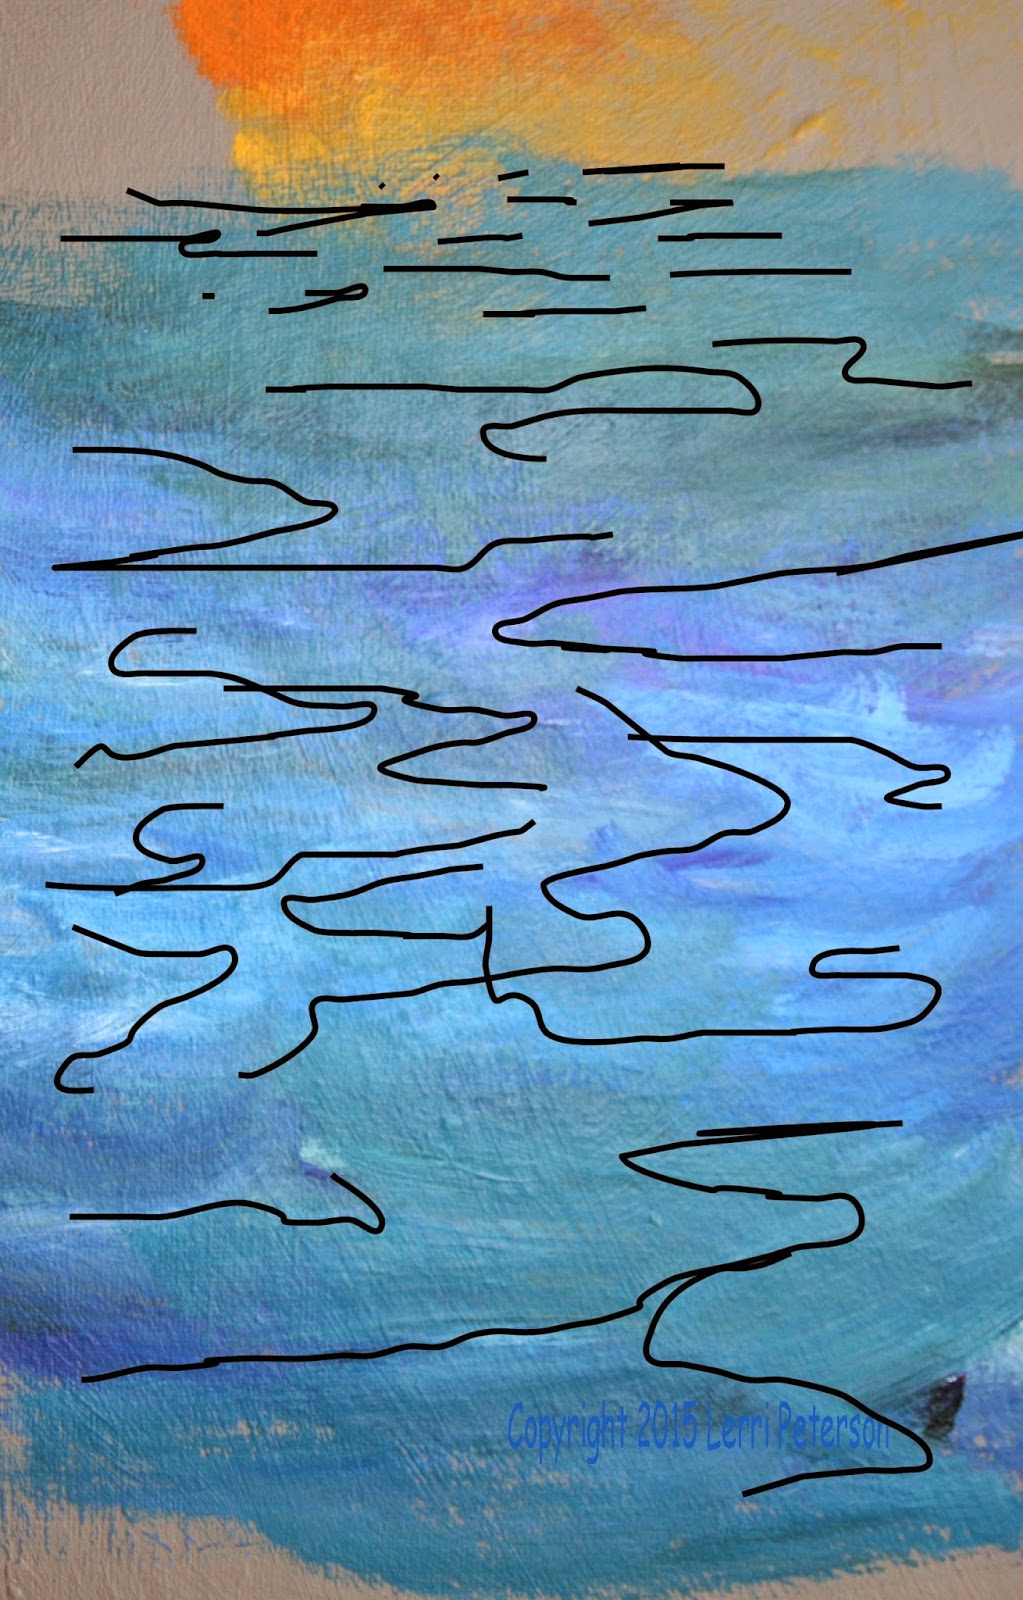
 To
start the finishing process of the water, you can still use the flat sable
brush or a flat bristle brush the color will be the same colors you have been
using in the water just lighter. You will use the flat edge of the end of the brush
keeping it parallel to the top and bottom of your canvas as you make a series
of strokes. Before you start this process, look and the patterns you have in
your water area and try to use those patterns to guide you to hit the tops of
lighter areas with the lighter colors. You can connect your strokes, overlap
them, have short ones and long ones but try to keep the flat edge parallel to
the top and bottom while you are doing this. It takes practice so you might
want to practice on a separate canvas first. If you do this correctly, your
water should look like still water with a bit of movement.
To
start the finishing process of the water, you can still use the flat sable
brush or a flat bristle brush the color will be the same colors you have been
using in the water just lighter. You will use the flat edge of the end of the brush
keeping it parallel to the top and bottom of your canvas as you make a series
of strokes. Before you start this process, look and the patterns you have in
your water area and try to use those patterns to guide you to hit the tops of
lighter areas with the lighter colors. You can connect your strokes, overlap
them, have short ones and long ones but try to keep the flat edge parallel to
the top and bottom while you are doing this. It takes practice so you might
want to practice on a separate canvas first. If you do this correctly, your
water should look like still water with a bit of movement.
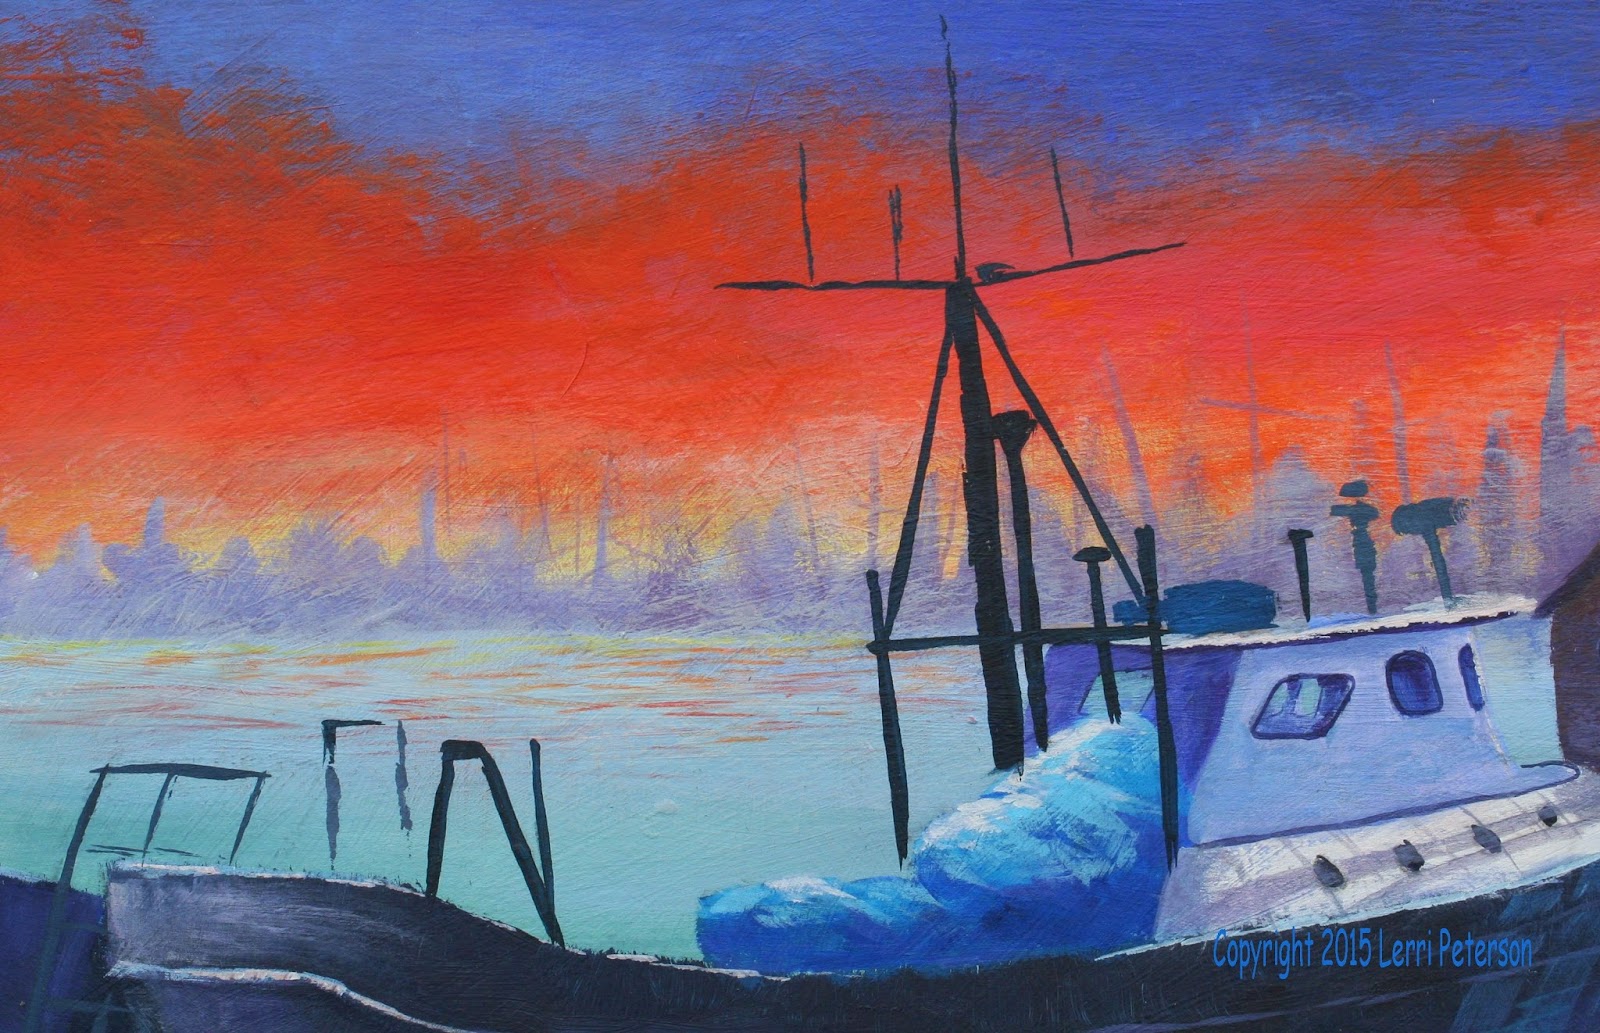 I
also based in the masts and poles and “stuff” that are on the boat. Have your
reference photo of the actual boat to sketch them in with charcoal before you
paint them in. They all lean slightly to the back of the boat, just don’t
overdo it. Mix a dark color using your blues, purple, sienna or burnt umber and
a good brush like a flat or a round sable because it will give you more control
than a bristle brush. If you feel more comfortable using a smaller brush, now
is one of the times you can break it out just double check the photo before you
start and keep a wet paper towel handy in case you don’t like what you have put
down, just let it dry before you try again because the paint will fuzz out if
it hits canvas that is too wet.
I
will work on mine a bit before next time so I can get some of the detail in
that is too small for you to see like the ropes, I will work on the larger
sample for the demo. Try to get as much done as you can, the next class will be
our last for this project and the semester. Keep painting and I will see you
soon.


No comments:
Post a Comment