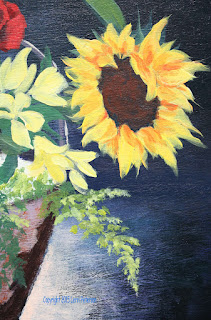
Acrylic
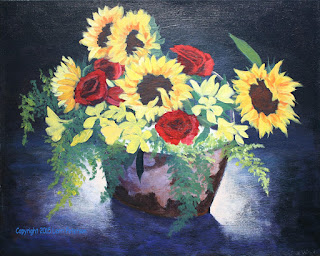
Project: TJ’s Bouquet Final
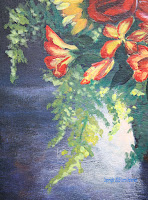 At
some point you have to call a painting done and that is where I am on this
project. The last class I worked on finishing details so there was much
instruction because my painting is different from each of yours and I have
different ideas of how I want it finished. This is a decision each of you will
make on your paintings so it will fill your needs.
When
I am looking to finish a painting one of the things I look for is where I can
add contrast first and then add color. It is the contrast between dark and
light that will “punch up” a painting. I also look to see that I have
everything finished, it is easy to get focused on one area and leave other
areas to die on the vine so be sure you look to see that all the elements of
your painting are at the level they need to be where they are in the painting.
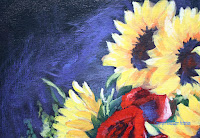
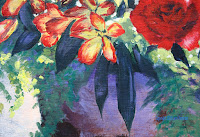
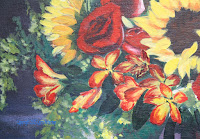 Using
my small sable flat brush I went back in to my small yellow flowers and added
the red edges pulling the color from the edge to the base lightly and using a
bit of yellow to help me blend. These are very light touches to gently blend
the colors not mash them together. You want to be able to see both.
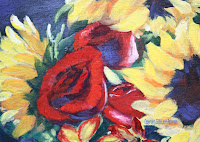
I
used this same technique of lightly blending colors to add some highlights and
transparencies to the roses. Using my gesso for white and my cad red I lightly
blended select areas so they looked more transparent or reflected light. Mixing
white and red will give you pink and I didn’t want that so I took my time
lightly blending. Practice this before you work on your flowers.
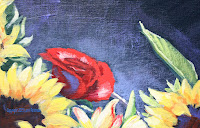
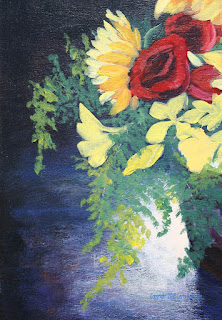
I
also added a bit of reflected light near the top of the bouquet on the area
that would be the wall much like what I did on the surface it is sitting on,
this gives a bit more to the “glow” around the flowers. I used a mix or blue,
purple and a touch of white but if your background is a different color from
mine be sure to use those colors only just a touch lighter.
Adding
a bit of the complimentary color to a painting is also a good thing. Since
there is a lot of yellow in this painting I mixed a color for the reflected
light in the shadow areas of blue, purple with a touch of sienna to slightly
grey it and a touch of gesso to slightly lighten it and added this color to
some of my shadowed leaves, dark sides of the roses and to the top of the
basket behind the overlapping leaves. Little touches of purple will bring life
to you painting as long as you understand the term “little touches”.
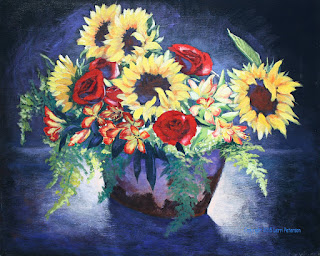 |
| Before |
Lastly
and only because I really wanted to see how it would look, I took what I call
my magic color which is Quinacridone Gold with a little touch of gesso and
using my bristle brush and a lot of water, lightly glazed the surface mostly
around the bouquet fading the glaze just beyond the flowers to the existing
dark. You do not need to do this! Let me repeat: YOU DO NOT NEED TO DO THIS!!!
I just wanted to see what it would look like so I could show you alternatives
to finishing your painting, if you want to try it fine but if you like your
painting the way it is, please just leave it alone, it is your painting and if
you like it that is all that matters.
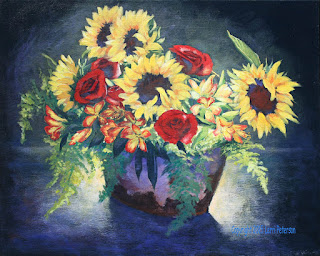 |
| After |
We
have 3 more weeks before the end of the semester so I hope you find something
you want to paint, I will help you get started and do demos as needed. Keep painting
and I will see you in class.
