Acrylic
Class Project – Safe Harbor Final
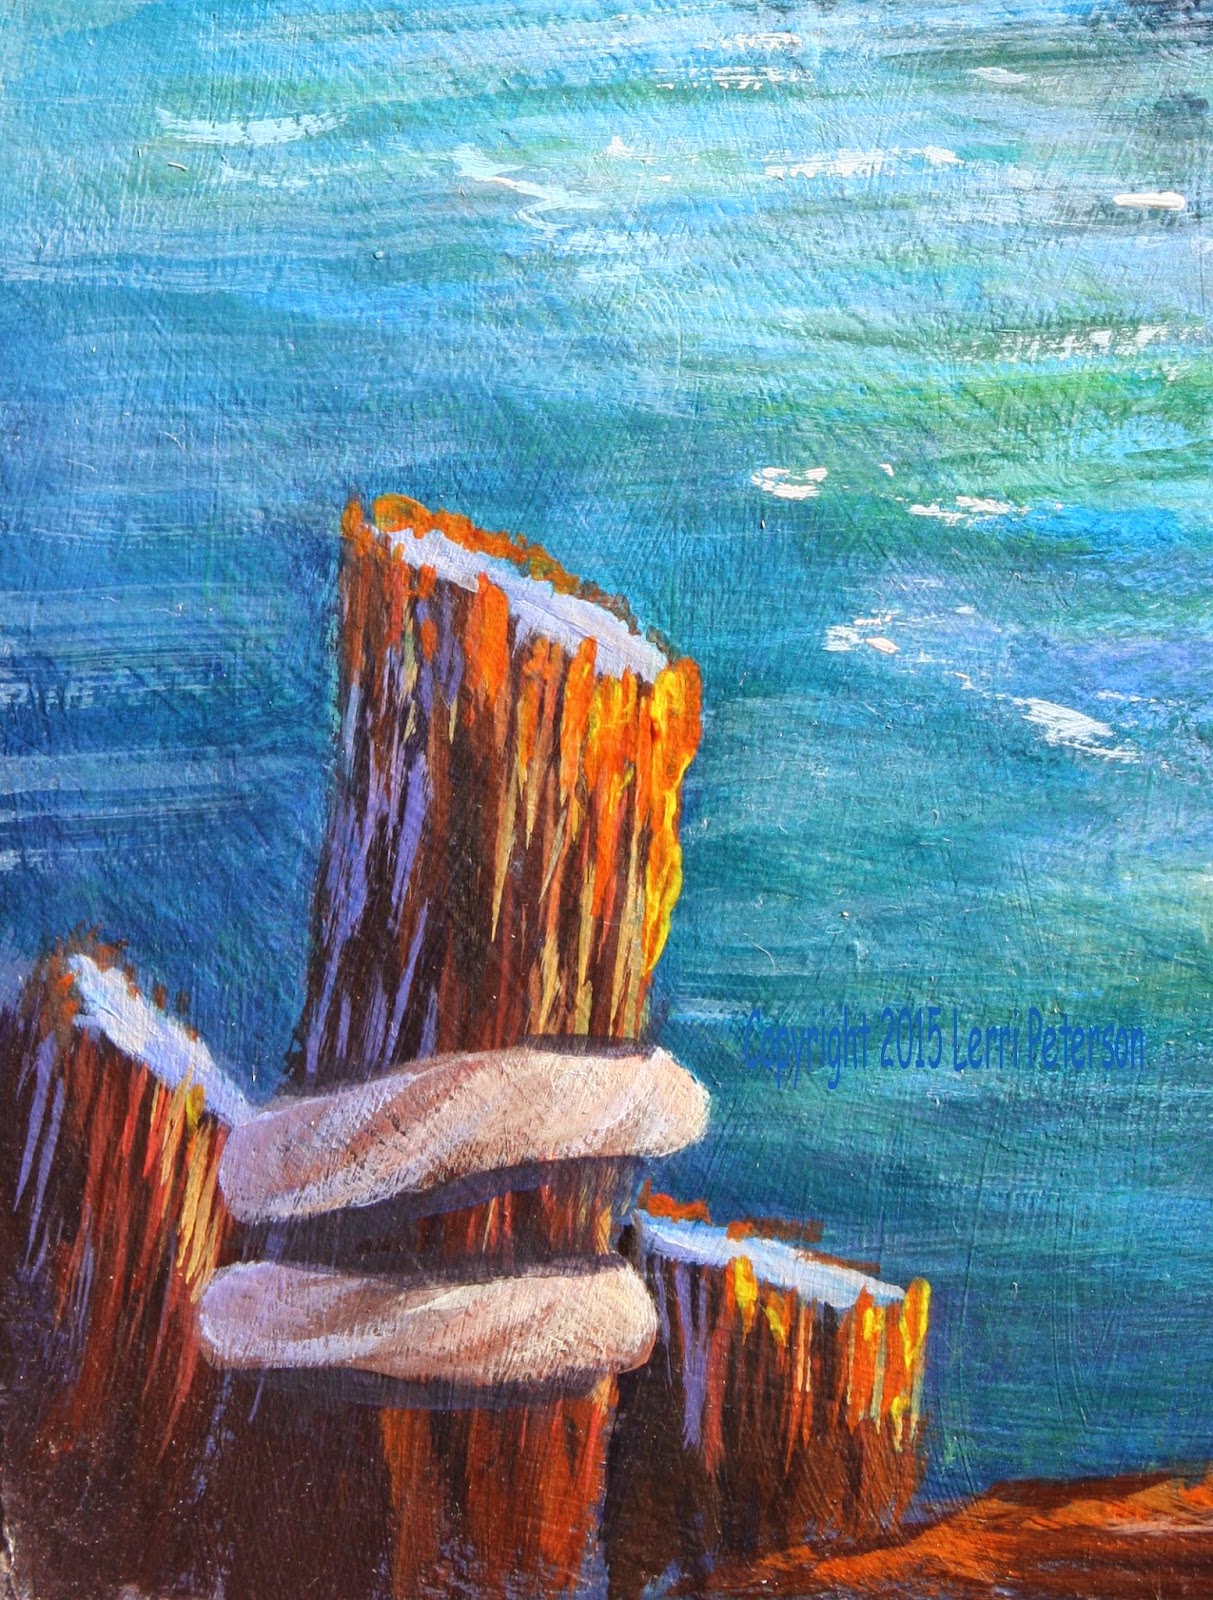 Since
we didn’t get a chance to finish this project in class I wanted to at least get
mine to where I would call it done and show you what I did in case you were
stuck on what you needed to do to finish your own. This isn’t to say you have
to have yours exactly like mine and I encourage all of you to try and do things
on your own, but I wanted to be sure you had enough information to finish your
projects if you were so inclined.
Finishing
and adding detail is a very personal thing with artists and if you are happy
with you painting you DO NOT NEED TO ADD OR CHANGE ANYTHING just because mine
may be different and I may change mine after I have lived with it for a while
and that is okay. You are the artist and you can change anything you want at
any time you want because we paint for ourselves not the teacher, not the
spouse, not the kids…No one else matters except you as the artist.
I
really only had detail do to when we last met: The crab pots, the netting,ropes, the railing on the boat, highlights, just a ton of little stuff that I
will have photos for examples, and a worked a bit more on my water and while
I’m not quite happy with it, I think it may just be me because I have fussed
with it for so long so I’m just going to live with it for a while before I
attempt to “improve” it some more.
I
am sure that most of you spent a considerable amount of time doing the netting
and the crab pots when they could have been done in a matter of a few seconds
using a larger bristle brush and a dry brush technique. Yes, it is that simple.
First I sketched in my pots and the netting on my boat so I knew where I was
going to paint the pots and the netting, then with a #10 flat bristle brush and
I mixed a medium light gray. This is dry brush so once I loaded my brush, I
wiped most of it out so there was very little paint or water in the brush and
with very light pressure on the brush I skimmed across the sides of the pots
with diagonal strokes first one direction starting in one corner then the other
direction from the other corner to get a cross hatch type effect with the dry
brush. I let it dry and with a lighter gray, I highlighted parts – not all – of
the pot netting just the same way as I did the darker gray. I came back later with
my liner brush and with some very quick, sketchy diagonal lines, I added a bit
of detail with a much darker color. The frames of the pots were first done in a
dark gray with lighter highlights.
When
you are doing these pots, remember they ae not the focus of the painting so
they will look better and do their job if they aren’t as precisely done as you
think they should be, they just need to be there as stage dressing so don’t overdo
the detail and hard lines. Less is definitely more in this case.
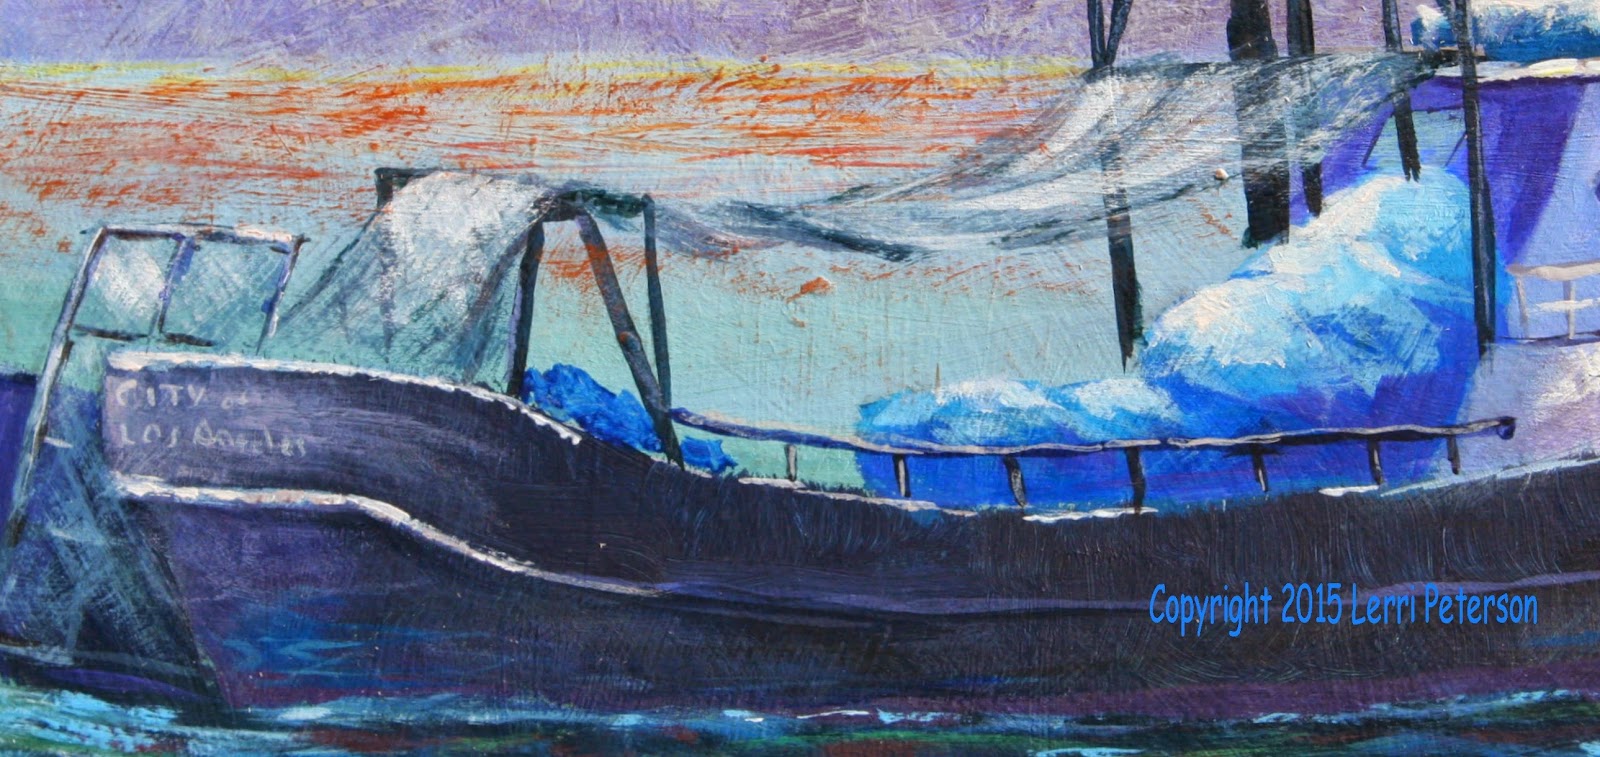 The
netting on the boat was handled in a similar way with the same brush and
colors but my dry brush strokes followed the length of the netting using the
full width of the end of my brush. To make it look like there is a bunch folded
up I turned my brush so the thinner side was the lead, then twisted it back for
the wider areas. Highlights were done the same way in select areas.
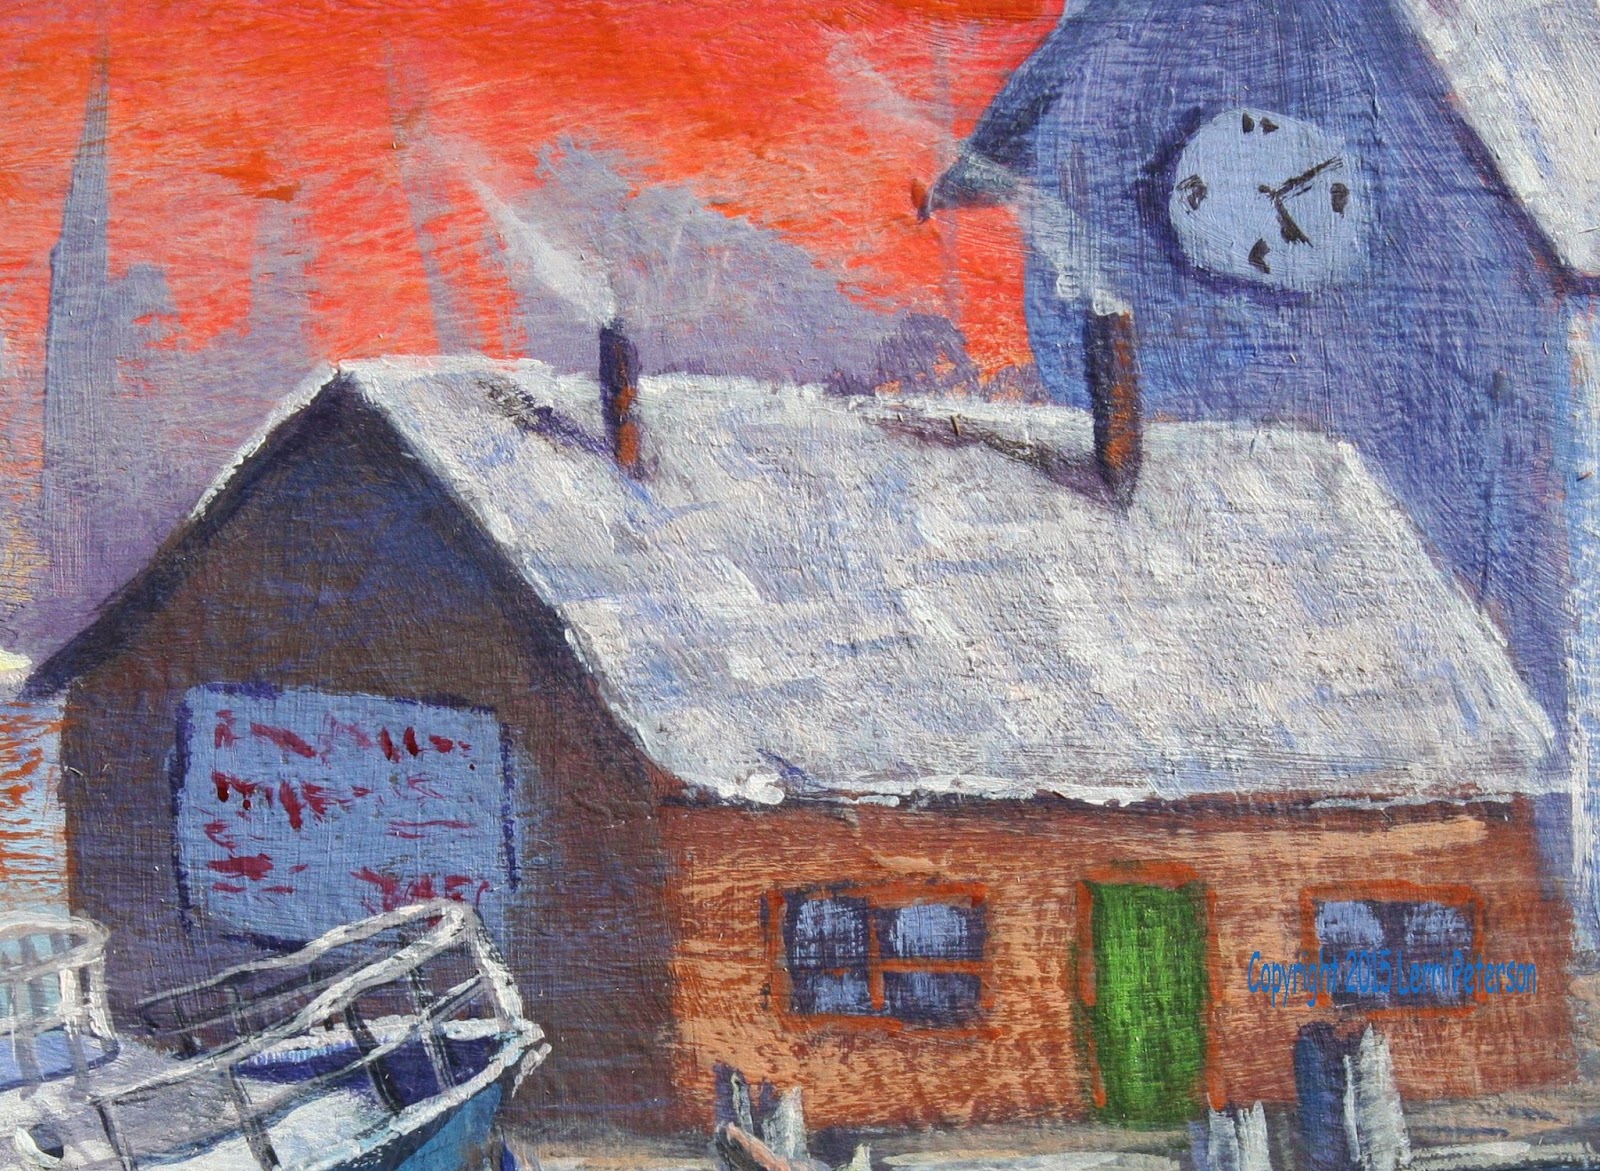
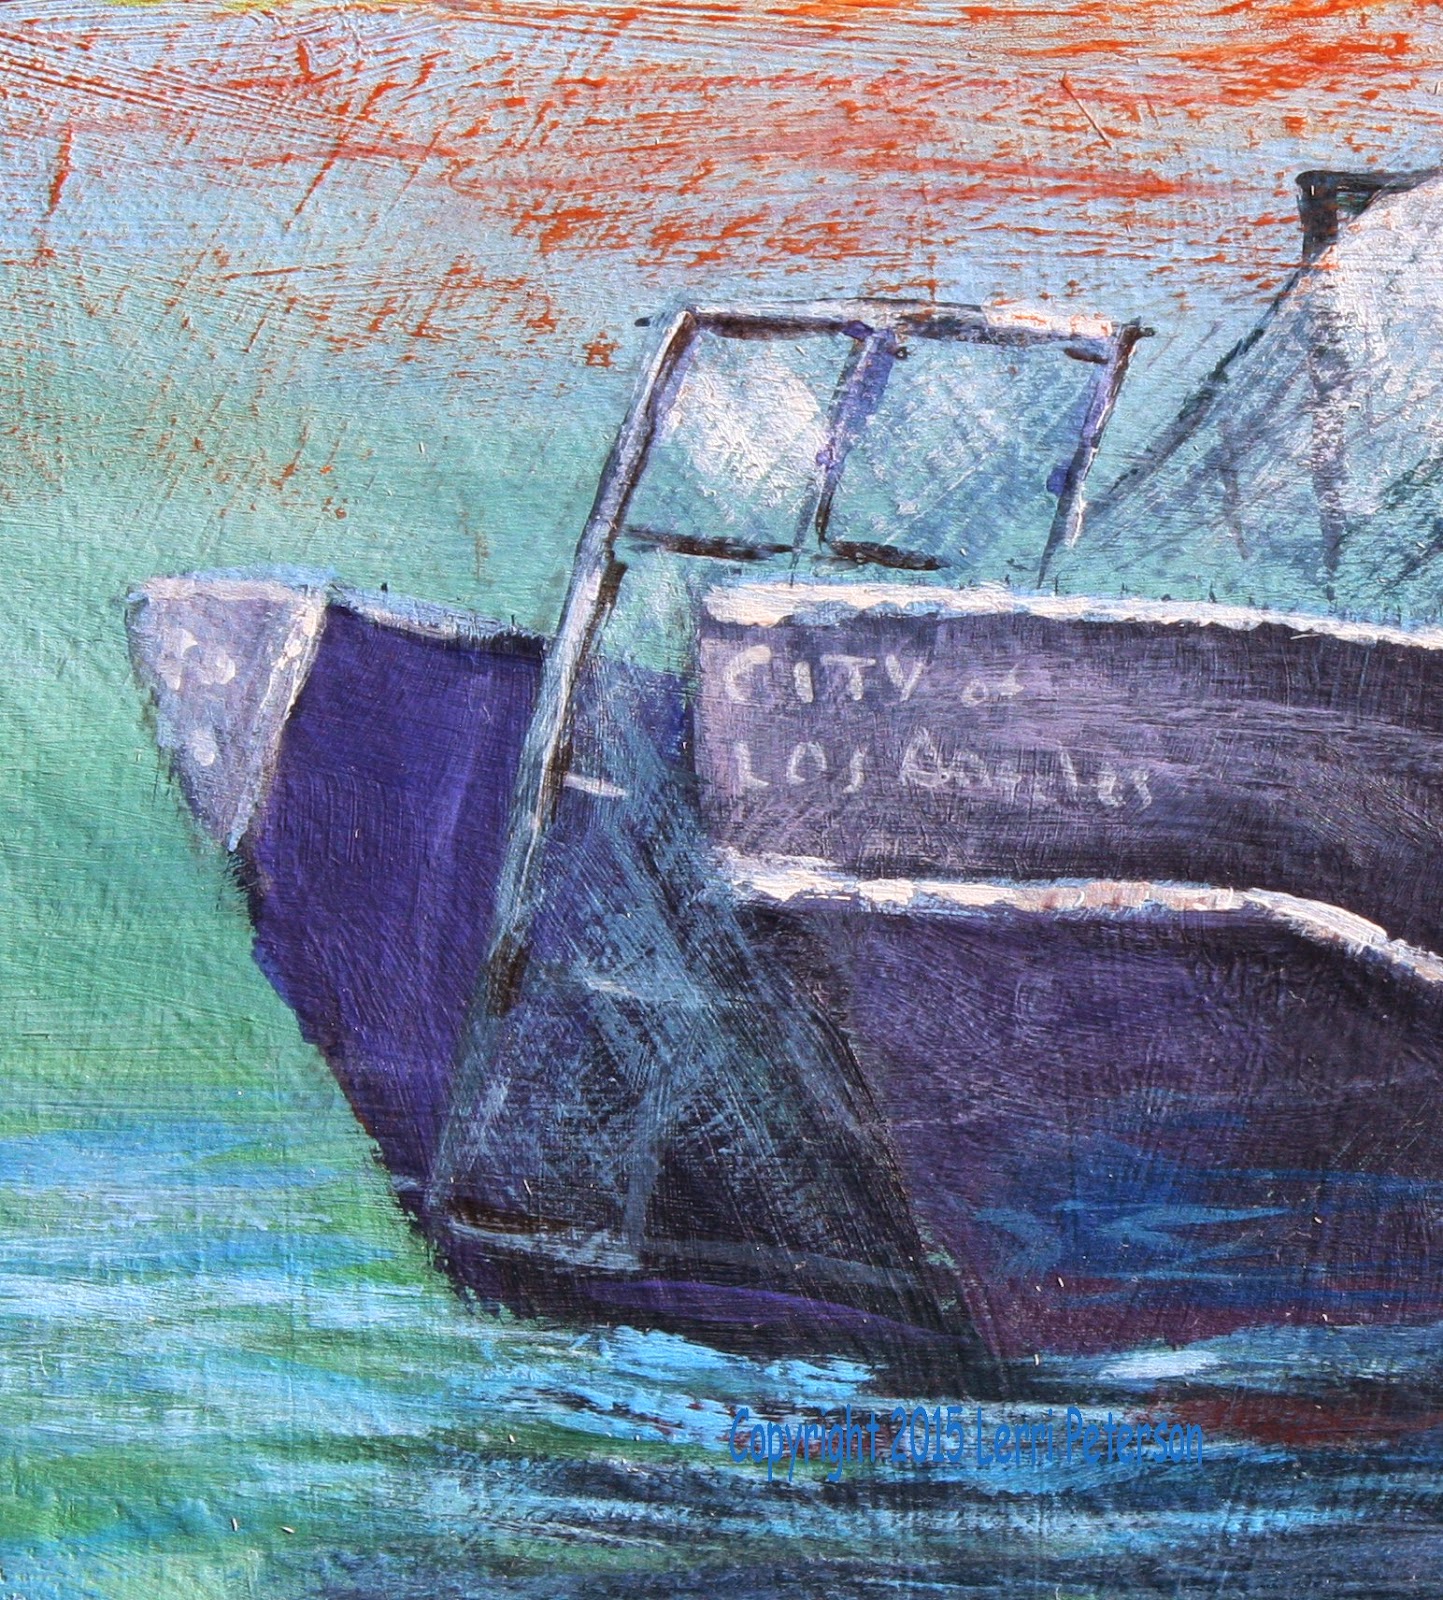 If
you want to add a name to the boat or letters on the billboard on the building
you literally do not need to spell it out. All you have to do is put in some
scribbles that look like words and you are good, as you will see on my
billboard. For the boat’s name, I did actually spell out the name with a small
round brush but I left it very sketchy looking so it will look like it hasn’t
been repainted since the boat was new. Keep it simple and vague.
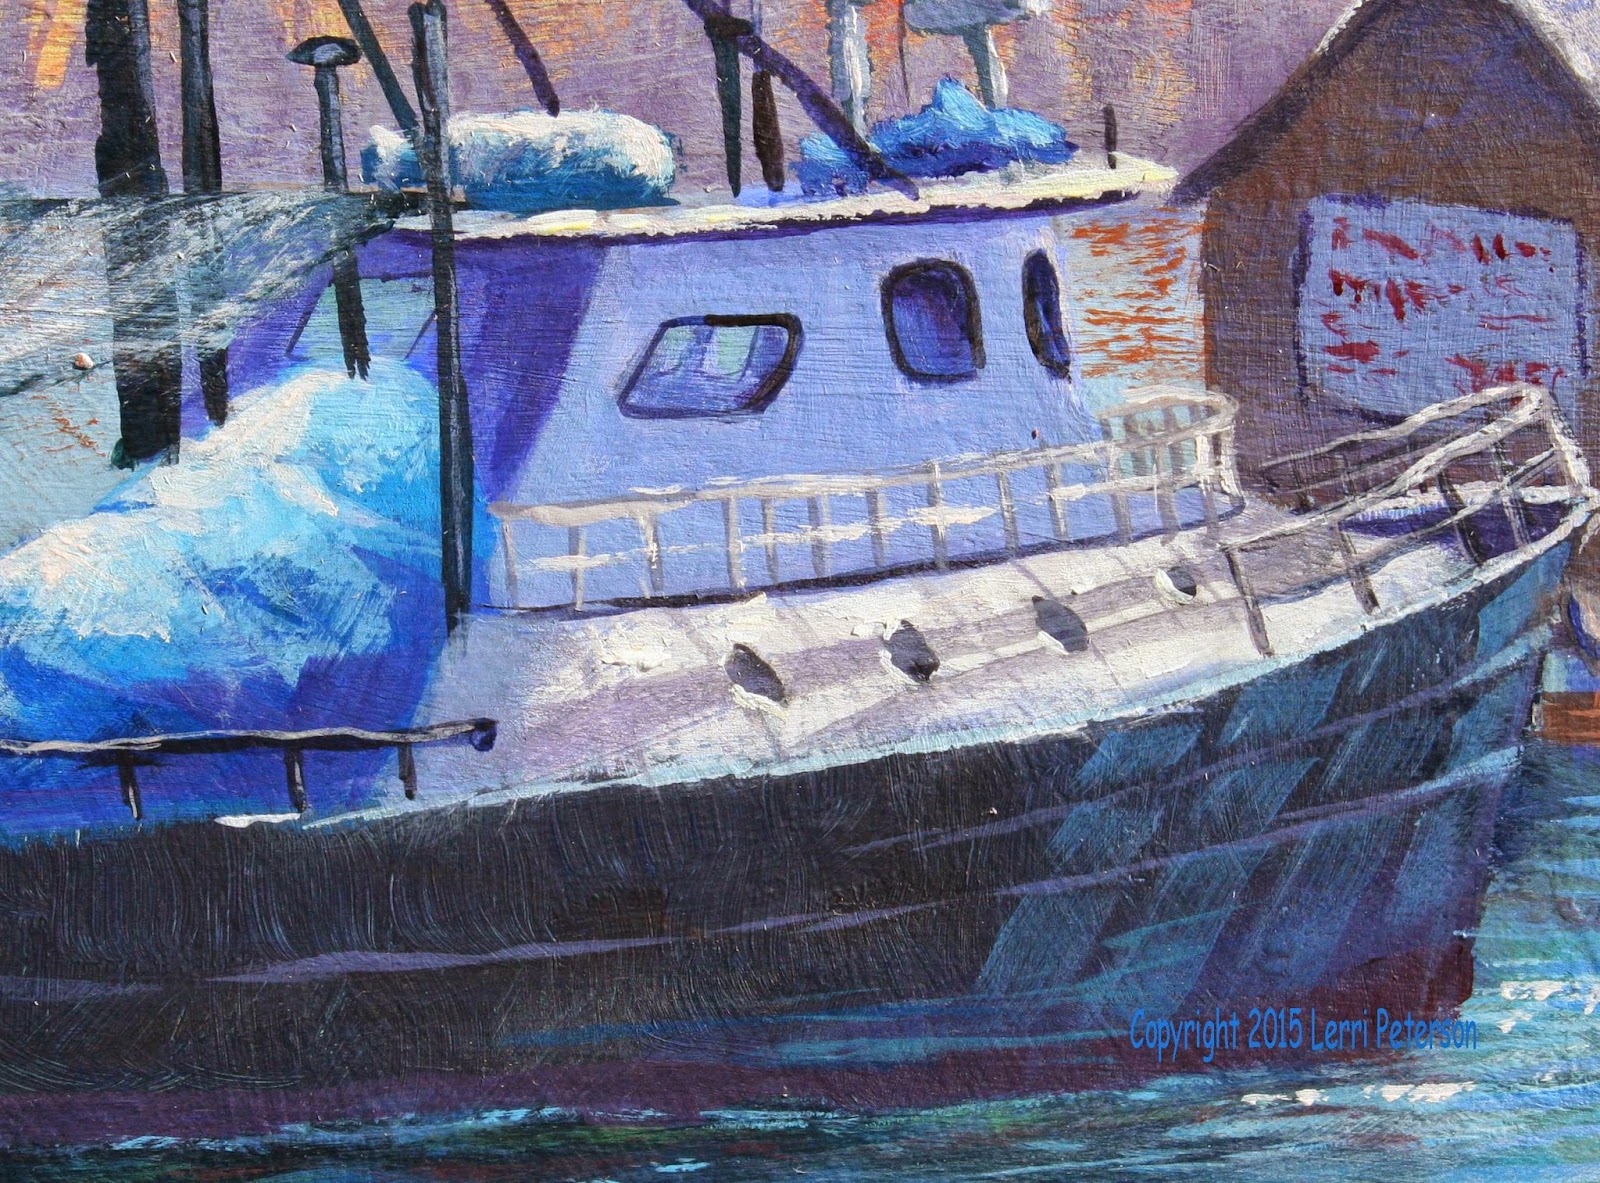 The railings were done with my liner brush as were some of the antennas on the boat
and some of the detail around the windows.
I
put a glaze on the water using my #10 bristle brush again and mixing a very
thin mix of white and a bit of mud from my palette and once again, dry brushing
it across with horizontal strokes over the top of the for ground water. You
don’t need to do this if you don’t want to. I also toned down my sky a bit by
making that mix a bit more blue gray and lightly scrubbing in a glaze across
the sky to tone it down so it wasn’t so brilliant, again, you do not have to do
this if you like your sky.
The
sparkles on the water were the last things I did and I used my gesso with a
very tiny amount of yellow in it just to slightly tint the white and I used a
small round brush to just dot the surface.
This
is where I will call it done for class and, like I said, will live with it for
a while before I decide if I want to do anything else to it. I will bring it to
class for those who are taking my class again so you can see it in person, so
to speak, if you have questions feel free to ask. I had fun doing this painting
and I was very happy with all the work my students did on their boats. This was
a complicated subject but if you break things down into manageable steps, you
can do most anything. Keep painting and I will see you in class.


No comments:
Post a Comment