ACRYLIC
– Project: Safe Harbor
I
started out this last class by fixing something I wasn’t happy with and that
was the area under the pier. I felt I had it too dark and I wanted to see some
light from the other side of the pier.
I
was using a #4 bristle brush but you can use a similar size sable if it works
better for you.
I
mixed a color similar to the color of the water behind the boat, it does not
have to be an exact match, just similar in color and value, value being the more
important of the two. I used white with a touch of blue and green and only
applied it in a couple of small dabs near the end of the pier next to the bow
of the boat. It doesn’t take much to suggest the other side of the pier so do
not get carried away.
I
also changed the color of the water under the pier by mixing more blue, a touch
of purple and a little green and a little that color I just mixed to slightly
lighten it because I wanted the color a lot darker but not as dark as I had it
and more on the blue/green side. Remembering it is water, I used horizontal
strokes to apply the color to the area.
I
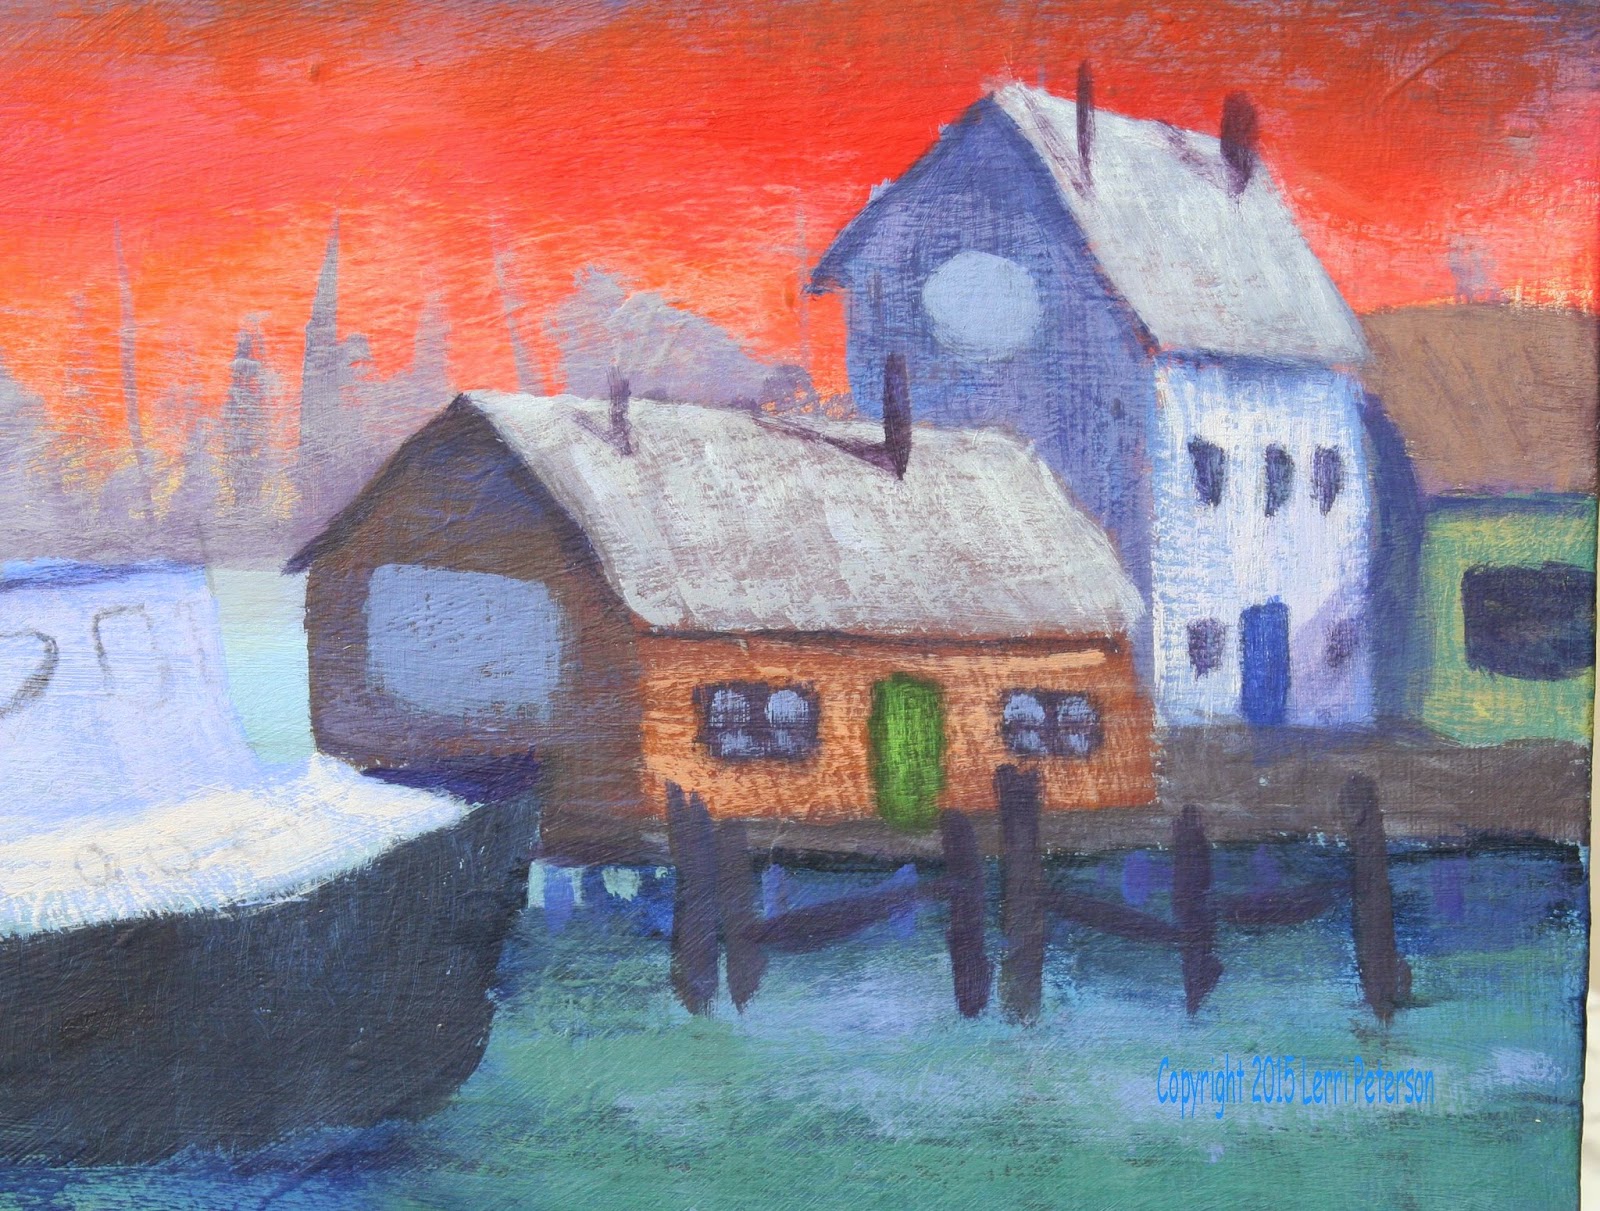
also worked on the building on the pier adding light to the sunny sides and
some texture to the shadows. Since your buildings might be other colors from mine,
you will use a lighter warmer color than the color you have on your building,
for instance: My brown building in the front I mixed yellow with a touch of
orange or sienna then I dry brushed the color onto my building. Dry brush means
that not only have you dried the brush to get out all of the water from
cleaning it, but after you load it with paint you lightly wipe off any excess
paint and water you might have picked up when loading the brush, then with very
light pressure on the brush, apply the paint. This technique is great for
creating texture because if you have loaded your brush correctly and use the
right amount of pressure, you should be able to see little hints of the
underpainting showing through, if you can you either have too much paint, too
much water or are using too much pressure. Practice on another scrap canvas if
you are unsure you should be able to see the canvas if you are doing it right
on the scrap canvas.
The
shadowed sides of the buildings I mixed a lavender color of blue, purple and a
touch of white to create a reflected light color to add the same way to the
shadowed sides. You will always have some kind of a reflected light in the
shadows especially around bodies of water, snow, ice or anything else that
light can easily bounce off of and getting this color into your shadows will
make your shadows look more natural.
 I
also added light to the roofs of the buildings again, it was a lighter, warmer
version of the under painting. I loaded my brush like I did for the previous
dry brush but this time instead of trying to create wood grain for the walls, I
wanted to create the SUGGESTION of shingles. Using the full width of my brush
and FOLLOWING THE ANGLE OF THE ROOF I made a series of choppy strokes. These
buildings are too far away to do much detail work and you do not need to spell
out everything to your viewer, just suggest. I will show you how to do some
subtle detail later if we have time.
Under
all the eaves I used a dark mix of blue and purple to create the cast shadows
from the overhangs of the roof. Cast shadows are darker than form shadows
because they block the light and putting these shadows under the eaves will
give dimension to the roofs and buildings. I also used this dark color to block
in some windows and doors.
On
the cabin below the wheelhouse of the boat I needed to add some sunshine. I
used white with just a tiny amount of orange to slightly tint the color. White
can look chalky by itself so tinting it helps avoid this and also will allow
you to add pure white later one for the sparkly white highlights just be
careful when adding the orange because a tiny amount will go a long way, you
just want to TINT the white.
I
added this color using the dry brush technique to the cabin part of the boat.
The wheelhouse is recessed from the cabin below it and there is a roof that
blocks the sun so it is in shadow.
Try
to get your paintings to this point by next week and also try to have your near
dock and crab pots blocked in as well as the windows and port holes on the boat.
We have a lot to do so let’s be ready to get started as quickly as possible.
Keep
painting and I will see you in class.


No comments:
Post a Comment