Winter
2014 Acrylic Class
Project:Arizona Color
Week
1
The
project we will be doing in class is called a “composite” because we are using
more than one reference source to create our painting. As artists we have more
options than a photographer who has to go into photo shop to try and duplicate
what we can create with just a few strokes and it can take a lot more hours to
get a photograph even close to what an artist can do, though not impossible in
this day of computers, but as artists, we are the ultimate in photo shop.
I
chose these 2 photos from my trip to Arizona because I liked them both but I
didn’t think that either of them was a strong enough subject on its own but I
like the idea of the two together because I could do reflections. Had there been
someplace for me to get the right angle I could have gotten a photo very
similar to what we will be painting but there just was no place for me to stand
to get exactly what I wanted but my artist’s mind was already solving that
problem coming up with this composition.
Having
good reference material is essential to any artist and if you want to grow as
an artist you need to start building your own “library” so you have material
that you feel drawn to, not what someone else enjoys painting. Digital cameras
make it simple to store your own photos and go through them to find subjects,
or you can go online these days to “images” and search on any subject your
heart’s desire. Or cut things out of the paper or magazines and keep folders
and you can collect postcards to put in your files. A word of warning though:
If you are using
someone else’s photograph, you cannot copy it straight out
then sell the painting. For your own use it is fine or you can give it away,
but if you intend to sell your work at some point, use these photos only for
reference. This is why we use my photos in class for learning purposes, the
photos and the drawing are still my “creation” and I hold the rights.
When
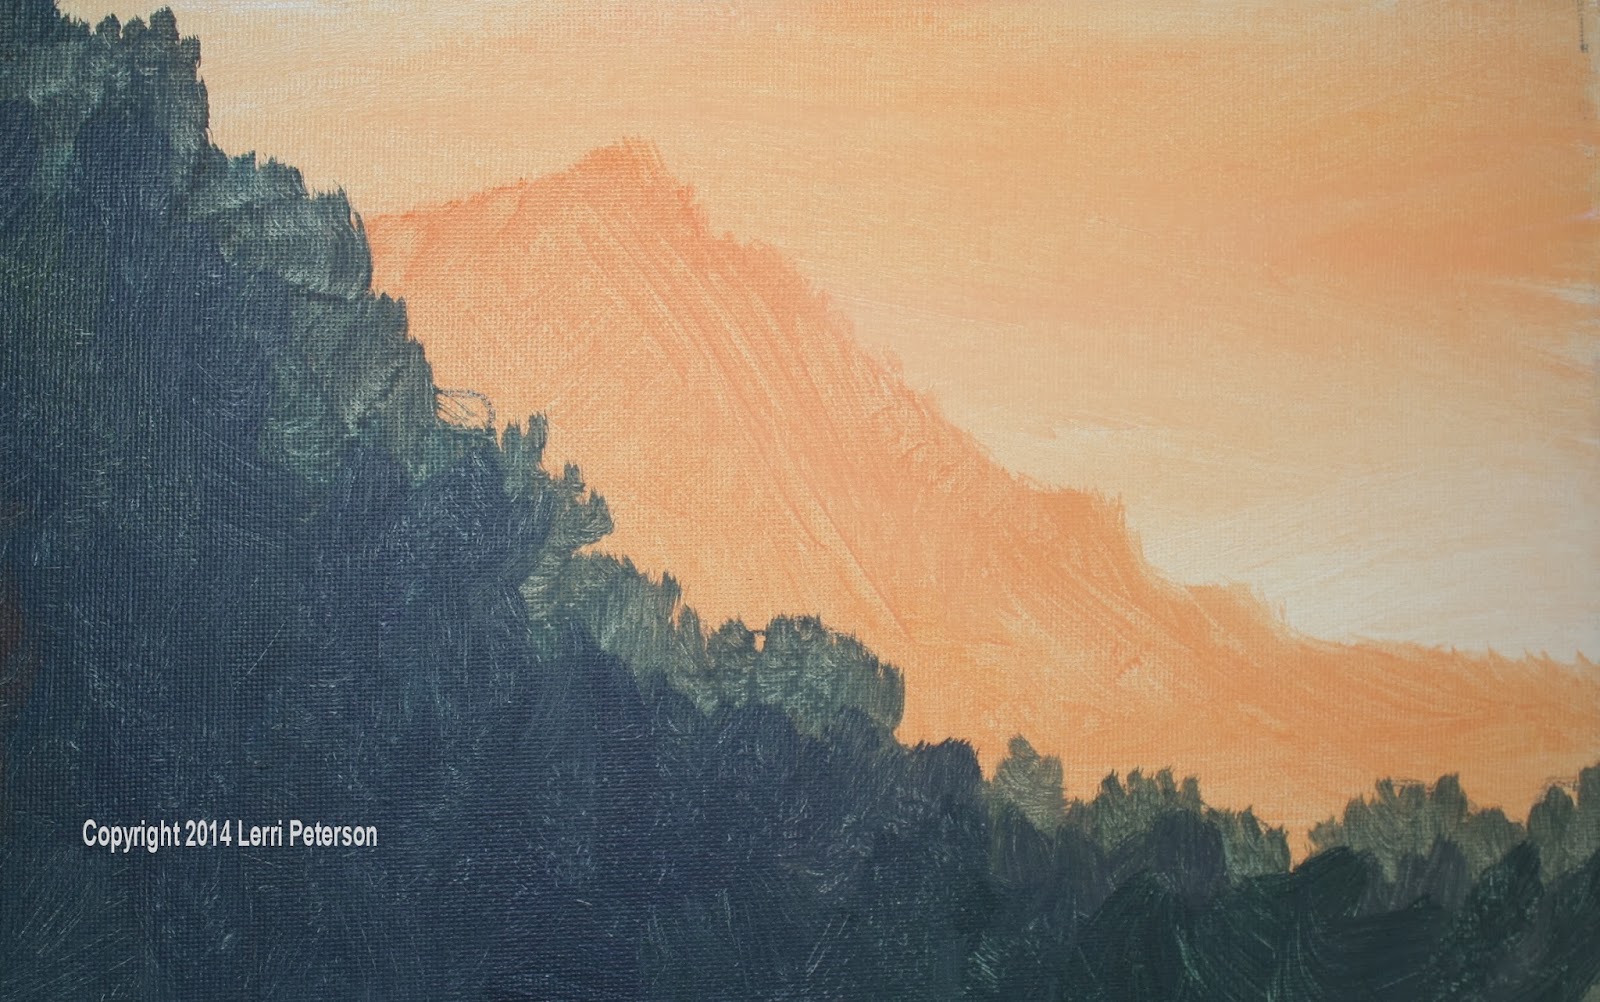
I was planning this painting, while I liked the one photo of the trees, the sky
was a bit blah and the distant mountain wasn’t very exciting of one but it was
also a color that wasn’t going to be repeated anywhere else in my painting so I
used my artistic license and changed both the sky and the mountain color to
harmonize more with the rest of my painting. Using the warm colors of yellow
and orange they not only went better with the rest of the painting but they
also suggested the heat of the desert. You don’t always have to follow the
photo exactly and you really shouldn’t anyway.
I
was using my 2” blending brush, the one with the very soft bristles, to start
this painting. The first thing I did was to spray my canvas with water and with
the blending brush make sure the surface of the canvas was coated with water,
then I picked up some gesso on my brush and coated the top half with gesso
using a circular motion of my brush to make sure I had a nice even coat of
paint. Since this is all wet into wet, you will need to work quickly so once
you get your canvas coated with gesso, on one corner of your brush pick up a
good amount of yellow and on the other a small (less than a quarter of what you
have for your yellow), streak it horizontally across the top of your canvas to
about half way across, then with long flat “X” strokes, using the full width of
your brush so it covers the full 2”s (not using it on its horizontal axis but
its vertical one) and very little pressure on your brush (the bristles will
hardly bend if you are doing it correctly), blend these colors together then
blend them down to the horizon. The paint will blend with the gesso on the
canvas to create a graded sky area (darker at the top, lighter on the bottom),
this is what you want.
 WHILE
YOUR SKY IS STILL WET, pick up some more yellow and orange with maybe a tiny
touch of sienna, this time mix on your palette to get an orange color that is
just slightly darker than your sky (I was still using my blending brush). Using
the full edge of the brush, I pulled down and created the edge of my mountain.
Using the end of my brush and pulling in to the mountain creates a soft edge
which is very important when you are trying to create distance, you can use any
stroke to fill in the mountain but remember to keep your edges soft.
The
sky, the mountain and the gesso should
still be wet if you want to switch to a #8 or #10 bristle brush you can but you
still want to be working while the paint is wet on your canvas.
With
my #10 bristle brush, I picked up my Hooker’s green, sienna, ultramarine blue
almost any of my darker colors then stared blending them ON MY CANVAS not on
the palette. This will create pockets of unmixed color that will look like
rocks or bushes or whatever and that is a good thing for this area. When I get
to the edge of that hillside, the wet sky and mountain color will mix with the
paint on your brush to create a lighter color, that is a good thing also, it
starts the highlighting process. Remember that the edge of the hillside is abunch of sagebrush, rocks and cactus not a manicured lawn, be sure to have an
interesting shape creating the profile of the bushes and whatever else there
might be. Look at the photo and see how much eye movement there is if you
follow the edge of the hill.
Continue
to paint the hillside with this dark color and use a variety of strokes, this
is not a wall, you will want to keep in mind the rocks and bushes and cactus as
you are painting. Most of the hillside is in shadow but we will be putting a
few highlights where the sun maybe creeping over and hitting the tops of some
of the taller brushes next week. This color should come down a bit below the
center of your painting.
In
class I stopped just the above the dirt and water
so most of your canvases were dry when you started this next step, however, if
I were painting this at home, I would have continued to paint and used the wet
into wet to blend the bottom of my hillside into the shadow of the dirt along
the river and finish with the under painting of the water. When you are
comfortable with working wet into wet I hope you try to do as much as you can
because in the long run, I think you will like the results better, plus you
won’t be stopping as often, stopping and starting again breaks you
concentration and your momentum that you have to get going when you start to
paint again.
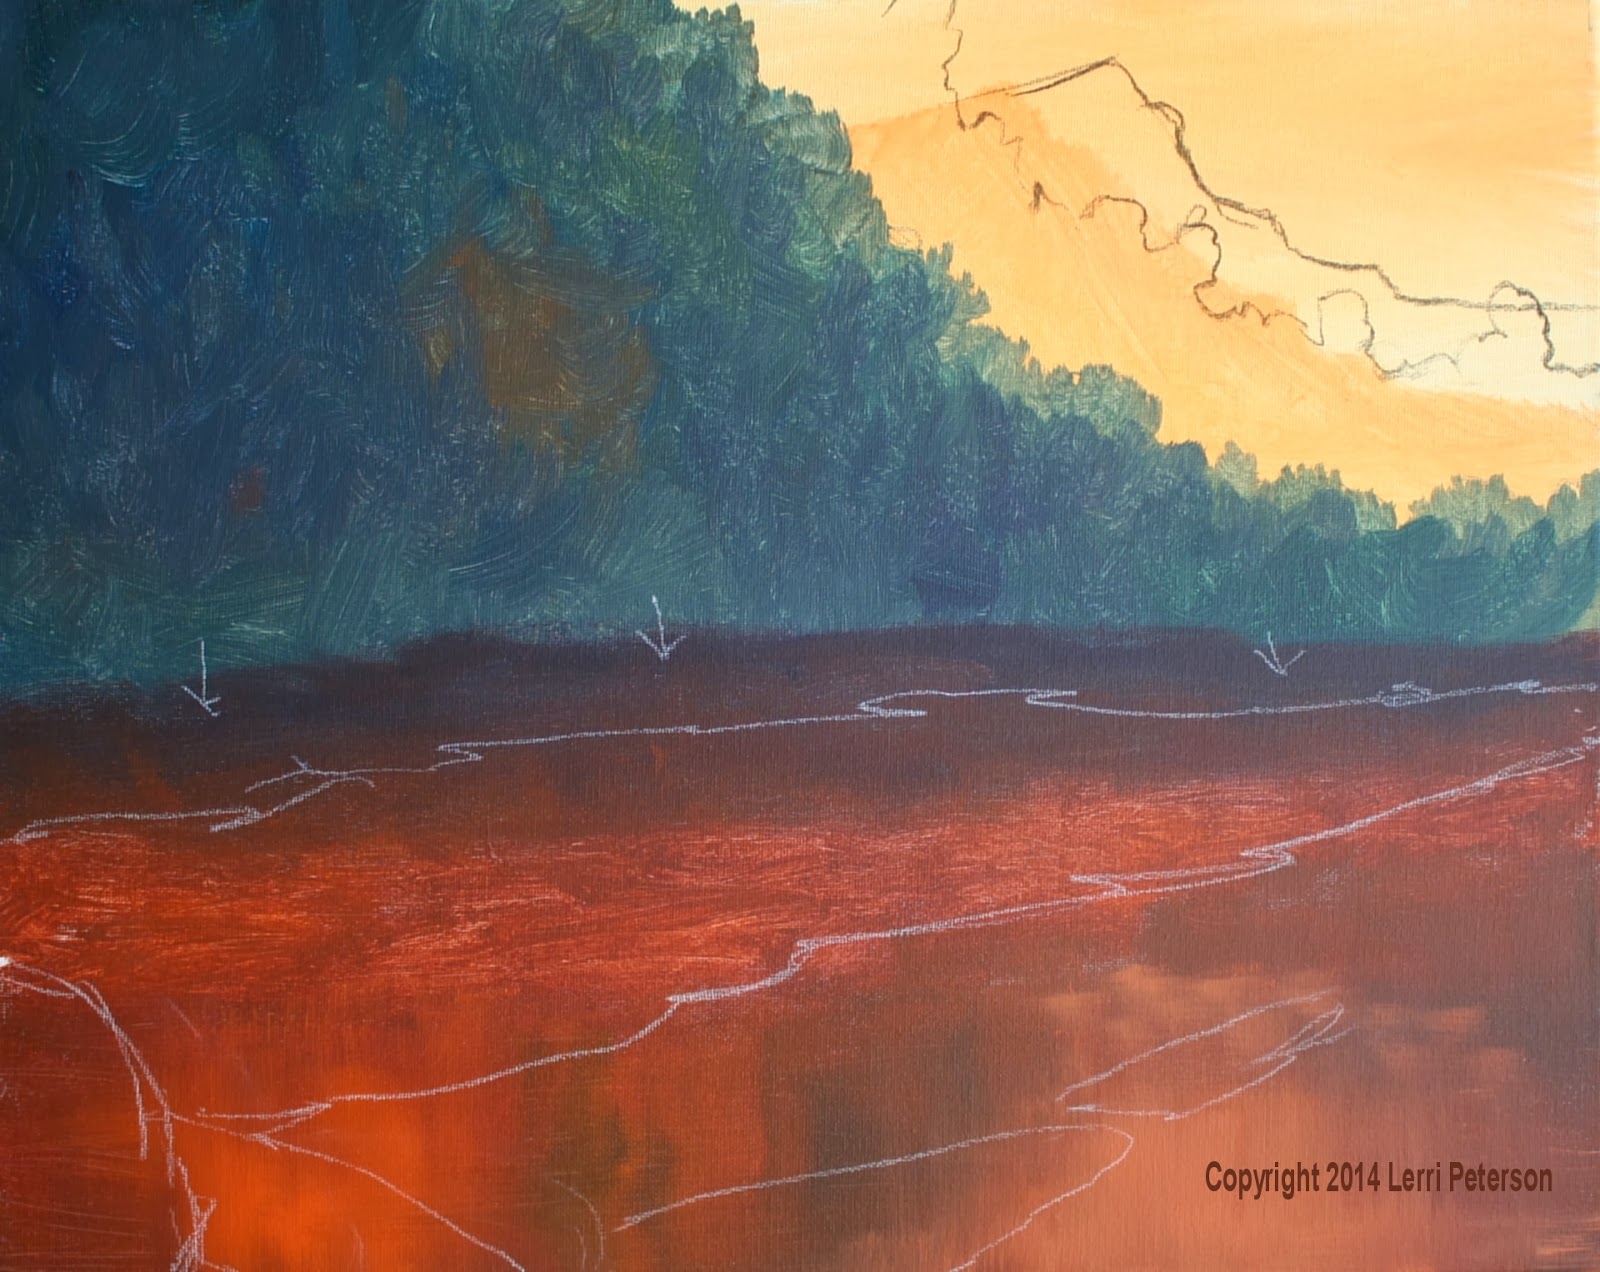
The
dirt starts back at the bottom of the hillside in the shadows, so still using
my #10 bristle brush, I picked up sienna, blue and purple, lightly mixed on my
palette though I didn’t have to, using long flat strokes, I started painting
the dark color up next to the dark green and lightly dry brushing some of this
new dark color into the green and down a bit from the green, distance will vary
depending on your painting so you will have to make a judgment call.
As
I worked away from the green area I picked up more sienna and touches of orange
that mixed with the colors that were still on my brush to create a lighter
version of what I had before to finish the dirt before you get to the water.
The water is going to be similar colors but you are going to use just 2 strokes:
either horizontal or vertical. Water can be tricky to make it look flat ad to
it we are going to have reflections we need to be mindful of our strokes
because they will tell the viewer the whole story of the water. The horizontal
strokes keep the water flat, the vertical strokes help create the reflection.
Still
using the #10 bristle brush with sienna, blue, purple and my horizontal strokes
I start adding color to the water area. As I am adding these colors I also pick
up other colors like orange or yellow of straight blue or green and lightly
blend them in with the original color pulling across, then lightly pull down.
When I say lightly I mean barely touching the canvas. While you want to blend
the colors somewhat, you don’t want to totally blend them to create just one
solid color, you want to see the variations which become the reflections or
stuff under the water, this is also a good thing so even if the blending feels
good, stop before you blend too much or you will have to start over again to
create your reflections.
This
is where we stopped so try to get your painting up to this point for next
class. I will tell you as I sat and looked at my painting while I was writing
this post, I saw a number of things I don’t like and need to fix so the
beginning of the class I will be showing you how to fix things or change things
that just don’t “feel” right, it happens in every painting and is nothing to
panic about, you just fix it, so if you want to see how I handle the situation
get to class early because I will have to fix things before I move on. See you
all in class.


No comments:
Post a Comment